
Saturday, July 30, 2011
Berry Boost pops
I love Bolthouse Farms juice. My favorite is the berry boost smoothie. It's just so delicious. And I decided to use it to make some frozen fruit pops.
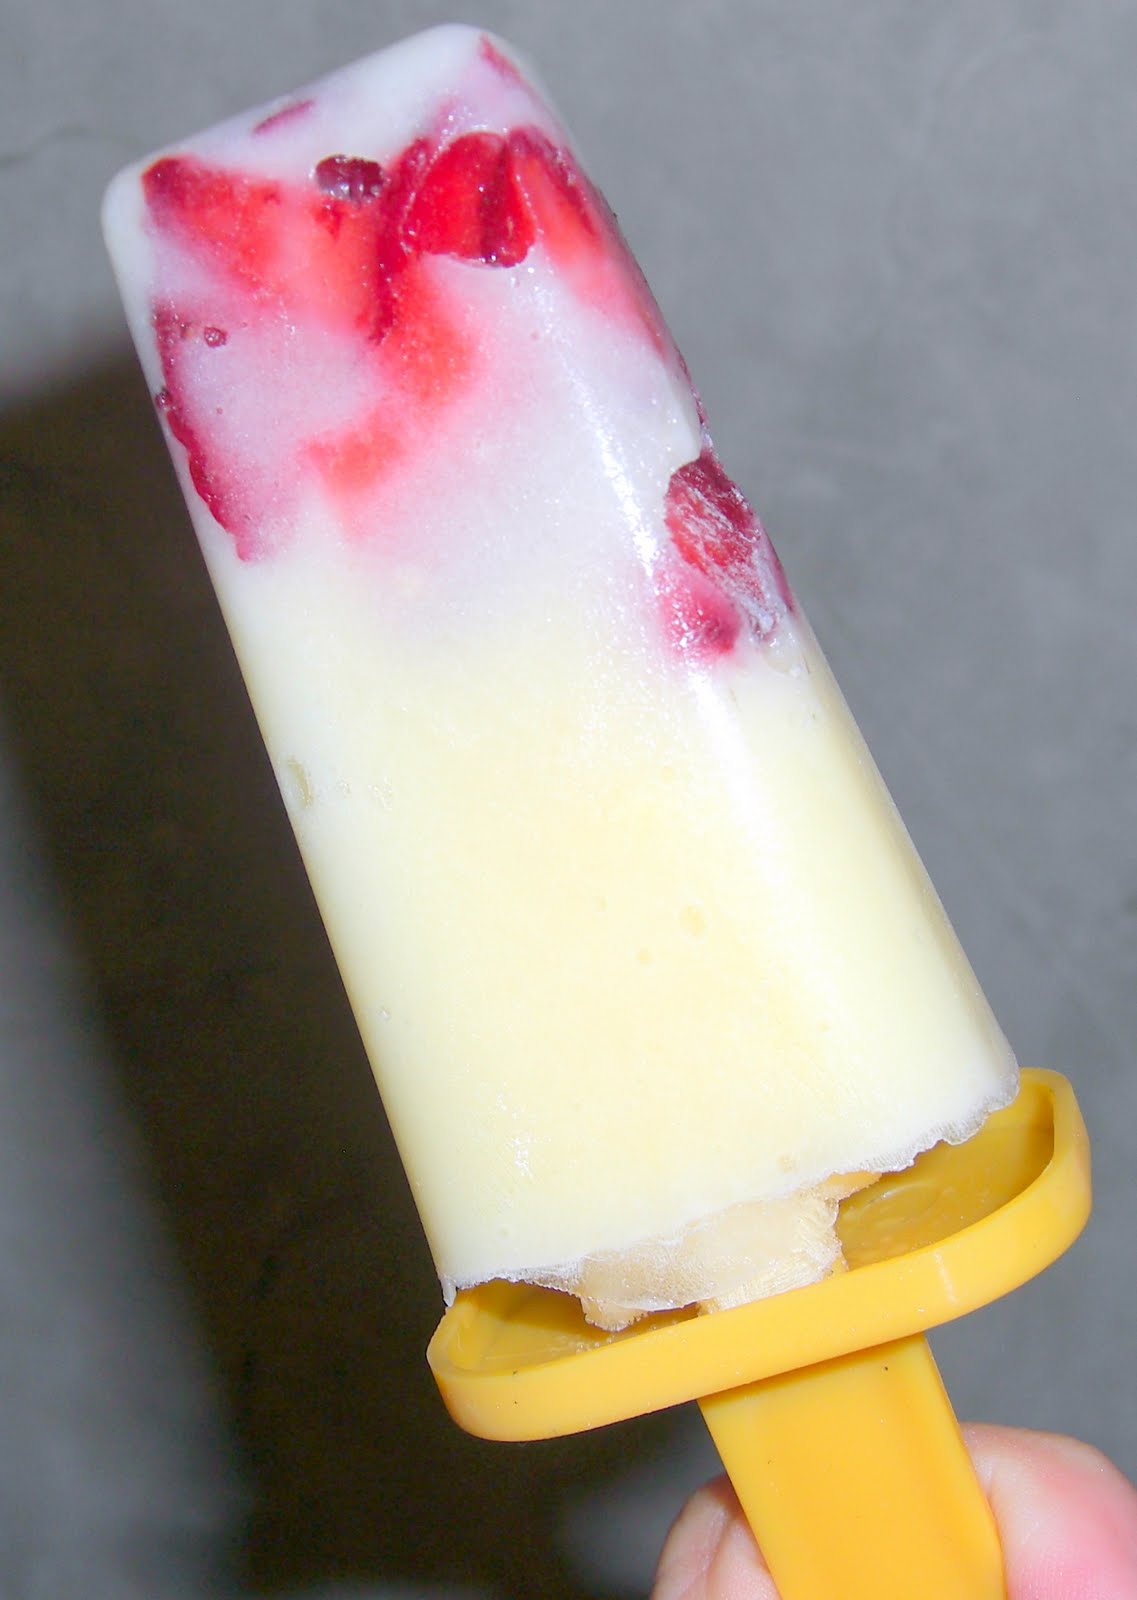
All I did was pour the juice into the molds and freeze it. I could have chopped some berries and added them, but I just wanted the straight juice this time. Unfortunately, the extreme heat and humidity means they don't stay frozen very long up on removal from the freezer, so the final product is kind of lumpy. But it's delicious and I wanted to eat the whole tray of pops all at once.

Strawberry Cheesecake Pops
I decided to try out the Popsicle molds I bought a few months ago. After playing with a few ideas, I decided on making cheesecake. I'll tell you how I did it this time, and how I plan on doing it next time.
Cheesecake pop #1
I chopped up some strawberries and put them in the bottom of the mold. I then mixed up some cheesecake pudding and poured it in the molds. Into the freezer it went until it hardened, and then... yummy!

Cheesecake pop #2
What I'd like to try next time is to get one of those no bake cheesecakes. I'd still put strawberries in the bottom of the mold and then top it with the cheesecake mix. The top would be the graham cracker crust. I'd let them set in the fridge to set up, and then I'd pop them in the freezer. Mmm, yummy!
Cheesecake pop #1
I chopped up some strawberries and put them in the bottom of the mold. I then mixed up some cheesecake pudding and poured it in the molds. Into the freezer it went until it hardened, and then... yummy!
Cheesecake pop #2
What I'd like to try next time is to get one of those no bake cheesecakes. I'd still put strawberries in the bottom of the mold and then top it with the cheesecake mix. The top would be the graham cracker crust. I'd let them set in the fridge to set up, and then I'd pop them in the freezer. Mmm, yummy!
Update: apartment gardening
My little garden is doing so well. I've been quite impressed with how it's done, especially since it's just potted plants and not a proper garden. Let's see where things are out there.
Look at how well my little strawberries are doing. Go, strawberries, go!

My mini sunflowers are seizing the day, are they not?

Look how big that bell pepper has gotten. A month ago, there weren't even buds on the plant.
This is the latest harvest of jalapenos to be picked. Yes, harvest. They are so yummy.
These tomatoes are still growing away.

I had a grasshopper visit. I took a pic of him, and then shooed him away from my plants.

And I caught my first cicada. They don't make those out wet where I grew up. I was amazed at how nasty they are - and loud!
Look at how well my little strawberries are doing. Go, strawberries, go!
My mini sunflowers are seizing the day, are they not?
Look how big that bell pepper has gotten. A month ago, there weren't even buds on the plant.
This is the latest harvest of jalapenos to be picked. Yes, harvest. They are so yummy.
These tomatoes are still growing away.
I had a grasshopper visit. I took a pic of him, and then shooed him away from my plants.
And I caught my first cicada. They don't make those out wet where I grew up. I was amazed at how nasty they are - and loud!
Sally Hansen nails
This week, I decided to show you some nails using one of my favorite products - Sally Hansen Nail Effects. I love this product because it's easy to use and it stays on your nails for a very long time. Plus, they're super cute.
I've used Nail Effects before, and I've loved the results each time. All you do is stick the stickers on. No heating, no stretching. All you really need to do other than stick them on is file off the excess. The stickers stay on for upwards of 2 weeks (in my experience). Love them!

Monday, July 25, 2011
Vacation
As is noted by the lack of posts lately, I have been on vacation. Now I'm back, and here's what you can expect to see very, very soon:
- Berry Boost fruit pops
- Strawberry Cheesecake pudding pops
- Barbecue pulled pork
- Some amazing nail polish styles
- Garden updates
Sunday, July 10, 2011
Triangle nail polish
Oatmeal Craisin Cookies
Oatmeal raisin cookies are good. But oatmeal craisin cookies are a bazillion times better. And this recipe is one you'll probably want to quadruple because you will eat them that fast.
Time Needed: 40 minutes
Level of difficulty: easy
Materials needed: 1 cup butter, softened, 1 1/3 c packed grown sugar, 2 eggs, 1 t vanilla, 1 1/2 c flour, 1 t baking soda, 1 t cinnamon, 1/2 t salt, 3 c rolled oats, 1 1/2 c craisins
Preheat oven to 350. In a large bowl, cream together butter, sugar, eggs, and vanilla. Beat until smooth. Sift together flour, baking soda, cinnamon, and salt in separate bowl. Stir into butter mixture until well combined. Mix in the oats and craisins and stir well. Line your baking sheet with parchment paper or spray with cooking spray. Scoop by the teaspoonful onto baking sheet and bake for 10-12 minutes, or until cookies are slightly brown on the edges. Take out of the oven, leave on the baking sheet for 5 minutes, and then transfer to a wire rack to cool. And then try not to eat them all in one sitting. Seriously, I dare you to not eat them all!
Level of difficulty: easy
Materials needed: 1 cup butter, softened, 1 1/3 c packed grown sugar, 2 eggs, 1 t vanilla, 1 1/2 c flour, 1 t baking soda, 1 t cinnamon, 1/2 t salt, 3 c rolled oats, 1 1/2 c craisins
Subscribe to:
Posts (Atom)